It all started with a dead battery in the French Alps. A blackout video filling my SD card. And the small frustration that turned into a product.

The Moment
There’s a specific kind of frustration that only emerges after you’ve lived with something for a while. Not the frustrations you notice on day one — those are obvious. The ones that surface after months of actual use, in actual life.
During spring 2025, I drove from Stockholm to Chamonix in the French Alps. The X100VI came along, obviously. Somewhere in Germany, the camera went into the glove box. When we arrived at the foot of Mont Blanc, ready to capture the “we made it” moment, I pulled it out.
Dead.
The “we made it” photo happened on my iPhone. Not ideal.
Later that evening, I discovered the second punchline: the SD card was full. The camera had switched itself on in the glove box and recorded a two-hour blackout video. Just darkness. The occasional sound of the road.
It wasn’t dramatic. It was just stupid. A small, irritating, preventable thing.

The Denial Phase
I told myself it was a one-time thing. I wasn’t more careful. It happened again — not the road trip drama, just the smaller version. The Fuji turns on in the bag, snaps a few dark pictures, and maybe records a video. You never know if you have charge left in the battery.
I tried the things everyone tries. Being deliberate about how I pack it. Wrapping it in a cloth. A brief masking-tape era I’m not proud of.
None of it stuck. Tape leaves residue. Habits fail when you’re in a hurry. The more “solutions” I added, the more friction there was between the camera being in my bag and the camera being in my hand.
The problem needed a real fix.
The Sketch
The idea was simple: a small clip that holds the power switch in the OFF position. Snaps on when the camera goes in the bag. Snaps off when I’m ready to shoot. No tape. No adhesive. No modifications to the camera.

I sketched it on paper first, then moved to Shapr3D. Started modeling the geometry around the shutter dial and power switch. The first shapes were rough — just enough to see if the concept made sense.
The Humbling Part
I assumed this would be straightforward. Small part, simple function. How hard could it be?
Harder than I expected.
The tolerances matter enormously. Too tight and it stresses the camera body. Too loose and it doesn’t hold the switch. The snap-fit mechanism had to feel secure enough not to pop off accidentally, yet easy enough to remove one-handed, in a hallway, on the way out the door. The surfaces touching the camera needed to be smooth — no sharp edges, nothing that could leave a mark.

I printed the first version. The switch stayed off. The clip stayed on.
And then I kept losing it.
The Obvious Thing I Missed
A functional part you can’t find is not functional.
I’d take the clip off to shoot, put it in my pocket, and then — where did it go? Somewhere in the bag. Somewhere in the apartment, probably.

The fix seems obvious in retrospect: a small loop so you can tether it to the camera strap. The clip stays with the camera instead of wandering off. I added it. Problem solved. But I felt a bit dumb for not thinking of it from the start.
The Iteration Grind
This is the part that doesn’t make for exciting storytelling — and the part where I learned the most.
Printing. Testing. Adjusting. Printing again. Half a millimeter here, a slightly different angle there, a snap point that looks identical but behaves completely differently. Snap-fit parts are unforgiving. You’re not printing a shape — you’re printing tolerances.
I printed maybe fifty versions before the matte black felt right. Then I tried transparent filament and had to start over. Transparent plastic behaves differently — it expands more, shows imperfections more, needs different temperature and speed settings. Over a hundred prototypes for transparent alone.


The first layer matters enormously. A slight elephant foot at the base, and the part won’t fit. Flow rate matters. Cooling matters. Every printer has a personality, every filament batch is slightly different. You dial it in, something changes, and you dial it in again.
Not because I enjoy the process — I mostly don’t — but because “almost works” isn’t good enough for something you’re going to sell.

What It Actually Is
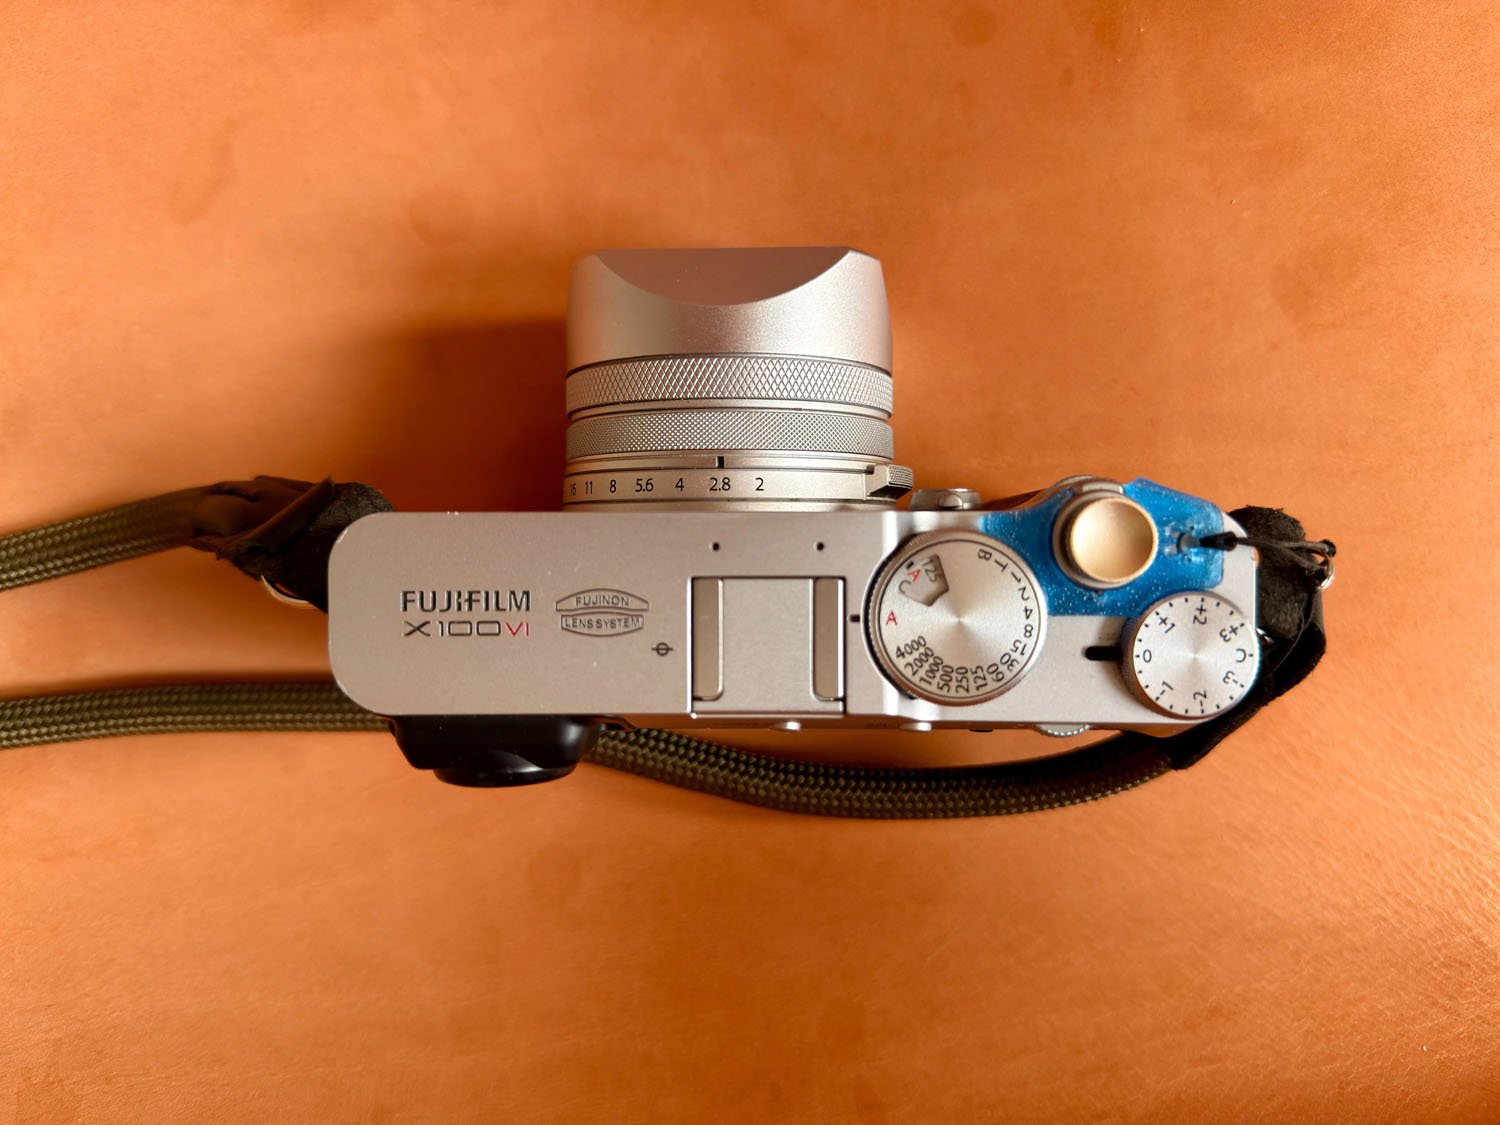
A small clip with a very specific job: keep the X100VI off when it should be off.
It snaps on in a few seconds. Snaps off even faster. No tools. No residue. The elastic cord keeps it tethered to the camera so it doesn’t disappear.
That’s it. One thing, done properly.

The Honest Reflection
I didn’t set out to start a product business. I set out to fix a problem I had with my own camera.
The fact that other people have the same problem — that there’s apparently a market for “small clip that keeps the X100VI switch off” — was a surprise. A pleasant one, but still a surprise.

I use this clip every day. It’s on my camera right now. The problem it solves is small, but it was annoying me constantly. Now it doesn’t.
That’s the whole story. A frustration, a sketch, a lot of failed prints, and eventually a thing that works.


Didrick Reel
Founder — Atelier Reel
atelier-reel.com/products/power-switch-lock-for-fujifilm-x100vi


The post How we fixed the Fujifilm X100VI appeared first on Fuji X Passion.